DIY paper angels templates. DIY paper angels templates
In ancient Greek there is a word "angelos". From him the concept of "angel" is formed. The Greek term means "messenger". That is, the winged spirit is the one who conveys the will of the Gods. So, in the story of the Nativity, the angels told the Magi not to return to Herod.
The priestesses knew where the baby Jesus was, and the king was prophesied that the end of his reign would come with the birth of the Savior. Therefore, the Magi, as well as Joseph with Mary and the baby, went to Egypt. Since then, Christians have venerated angels.
One way to express gratitude is to place winged figurines on Christmas trees. The holiday is on the doorstep. It's time to learn exactly how to make Christmas angels. If you take as a material, the process will be quick and simple.
How to make an angel out of paper
How to make an angel out of paper - video which can be divided into several categories. The first includes samples, for the manufacture of which scissors are required. These are the easiest and fastest options for making angels. You can create separate ones, or tie them into garlands. Let's start with a chain of winged creatures. They seem to hold hands, symbolizing the unity of the forces of good.
This is just a preparation. There is room for imagination. The garland can also be cut out of thin cardboard or colored paper. It doesn't have to be left untouched. How about a coat of paint, or a spray of glitter? The atmosphere of a fairy tale and purity will be supported by glued rhinestones. The contour of the angels can also be different.

Separate figures of the messengers of God are flat and voluminous. A middle option is also possible. It needs corrugated paper. Sheets from stores are usually thin and with a small zigzag. For Christmas crafts, you need thick paper with large folds. So, we take ordinary sheets and create corrugations ourselves. The nuances of the process will explain the following video " How to make a paper Christmas angel»:
Now let's figure it out how to make a paper angel in the full sense of the word. A pattern will be required. Draw it according to the forces and the child. In order for the figure to keep its shape better, thick paper is taken. An A-4 sheet is enough. Scissors, as always, are the main ones in the process. So let's get started.
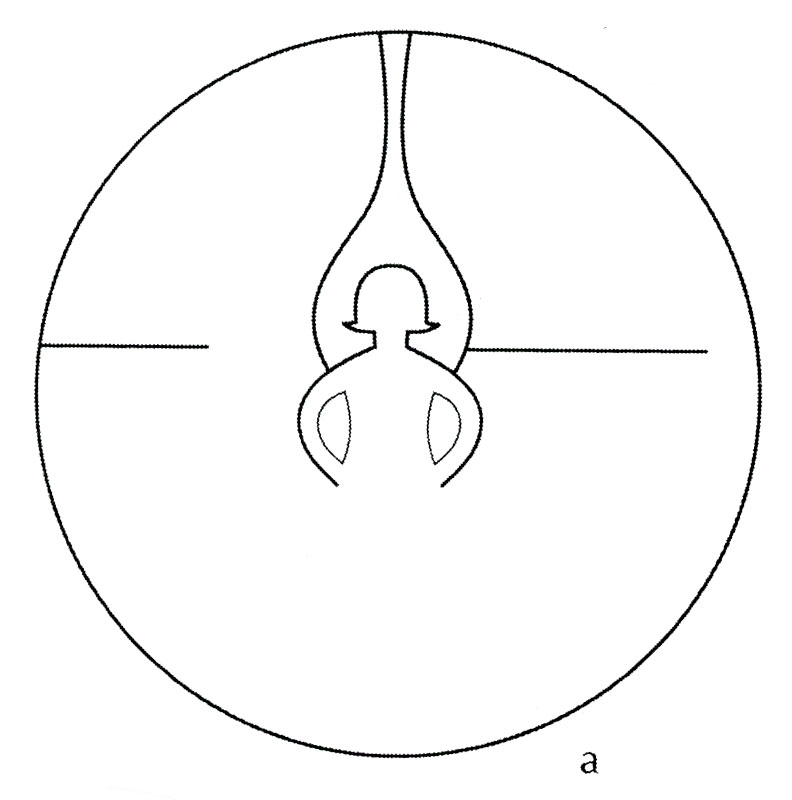
If you don’t want to draw the outline of a winged creature, you can use a ready-made template. It is easy to find it on the Internet. All you need is a printer to print the sample. Next, we draw around the contour, so the issue is resolved, how to make an angel out of paper. Templates popular ones are listed below:


In the question, how to make an angel out of paper origami lessons stand apart. You can’t name a simple technique, and it takes a lot of time to create one figure. Therefore, we will pay special attention to Japanese technology.
How to make an origami paper angel
To create origami, you need accuracy, patience, spatial thinking. All this refers to the realm of the mind, which governs the angels. This is the opinion of Evagrius. This ascetic monk lived in the 4th century. It is the concept of Evagrius that is recognized by Christianity as the main one. The man said that the human essence is tripartite.
The lower part causes a thirst for carnal pleasures, hunger. The middle substance is responsible for emotions, inciting pride and anger. Rational third part. It is she who brings a person closer to God and the world of angels. So origami, where it is worth turning off emotions and forgetting about hunger, delving into creativity, is the best fit for the spirit of Christmas.

The photos are inspiring. It's time make an angel out of paper for the new year or Christmas. In Russia, the first holiday is celebrated on a grand scale. In Europe and America, Christmas is considered the main one, honoring the traditions of Christianity. In Japan, Buddhism is generally practiced. But, this does not prevent us from using the achievements of the masters of the country of the Rising and creating origami angels. Instructional video below.
Origami figures are stable, dense, voluminous. Such angels are able to decorate not only a Christmas tree, but also a festive table, a fireplace, in general. In the design of the premises, wings are also used, as the main attribute of heavenly spirits. The accessory can be hung on the wall, or put on. The latter option is good in the case of a themed, costumed holiday.
How to make paper angel wings
DIY paper angel wings easier than it seems. First, the object is quite large. There is no need to painstakingly cut and fold the smallest details. Secondly, all you need is paper, glue or tape, a pencil and scissors. This toolkit is for everyone. How to apply it? Watch the training video:
Sonya Star shared her way of making angel wings. But, there are plenty of other options. One Max Lenova refrains from commenting and offers a rather obscure video. But, the creation of a young man is so good-looking that it is worth attention even in this form.
Paper can only be the basis for the wings. Feathers, for example, are also made of fabric. It is also possible to use non-standard sheets. Wings from newspapers or tracing paper look unusual and elegant. In order not to be unfounded, below are examples of works with a "zest".


Now, it remains not to forget about the Christmas stars and images of Jesus. In the days of early Christianity, by the way, he was considered one of the angels. Christ lost this status only in the 325th year. Then the Council of Nicaea was held, convened by the emperor of Rome, Constantine the 1st.
At the meeting, it was established that Jesus has the same nature as God, which means that he cannot be an angel. However, this does not degrade the role of heavenly spirits, but only changes the public's view of Christ. He is considered the savior of mankind. So, Christmas is a holiday of salvation, kindness and purity of thoughts.
A paper angel is a wonderful craft for Christmas. I will tell you how to make a wonderful angel from a paper sheet. This is a very simple craft. Even a preschooler can cope with such creativity.
The paper angel is cut out according to the template from one sheet, but it looks voluminous and very pretty. Such angels can be hung like a mobile and they will bring happiness to your home. In addition, a child can give paper angels to grandparents. They will be very happy that their grandchildren made such a beautiful craft with their own hands.
A bit of history. It turns out that the paper angel, of which there are so many templates, was invented by our Russian artist - Vladimir Andreevich Favorsky. It would seem that nothing complicated - fold the sheet, cut it out according to the template, bend the handles with the pipe and, behold, the beautiful Christmas angel is ready. Simple ideas are great!
How to make a paper angel. Cutting templates
The angel needs to be cut out of paper. Choose one of the proposed templates. Print on a printer or redraw (maybe you will come up with your own details).

Fold the sheet in half and cut with scissors. Gently bend the arms of the angel with the pipe down.

It remains only to curl the wings with the edge of scissors or a pencil and your Christmas angel is ready.

You can fold the Christmas angels a little differently. On the templates presented, the angel figure needs to be cut out and the wings connected by sliding them into the slot.


May the paper angel bring happiness to your home!
Get creative and give paper angels to your loved ones!
Paper angels can be hung on a Christmas tree, or you can give them to guests at a children's party. Making a paper figurine is so easy that even small children can be safely involved in the creative process.
Lesson #1
You will need:
- colored paper (it is advisable to use thick cardboard);
- template (you can use the template we suggested, or draw your own);
- scissors and stationery knife;
- thin awl, needle or pin.
1: Print out the template and cut out the outline.

2: On the reverse side, mark the pattern for piercing with a pencil.
3: Using a thin awl, needle or pin, pierce holes. It is best to pierce them from the front. Make sure that the holes are the same size and located at the same distance from each other.

4: Turn the figurine over and draw a pattern on the wings, then pierce holes. On the wings, holes are best pierced from the wrong side.


5: Fold the angel as shown in the picture. The wings can be fastened together with a stapler.

6: If you want to hang the figurine, secure the thread by gluing it on the back.


Master class №2
Another easy step by step tutorial to help you make a paper plate angel. You will need:

1: Cut a paper plate in half and fold one half to form a cone. Fasten it with tape or a stapler.
2: From the second half of the plate, cut out the arms and wings, then glue them to the body.
3: From colored paper, cut out the face, palms and hair. Draw the eyes, nose and mouth, then glue the details to the figurine.
4: To make a halo, take a 12.5 x 9 cm strip of aluminum film and twist it into a rope. Roll into a ring, and then fasten on the angel's head.
Lesson #3
Another simple tutorial. You will need:
- colored paper;
- bead with a through hole;
- decorative brush.
1: Take two square sheets of colored paper (13 x 13 cm). Fold the first sheet with an accordion (the width of each fold is about 1 cm). Fold the second sheet also with an accordion, but make the folds narrower, about 0.5 cm.
2: Take the first part (the body of the angel) and pinch the top.

3: Take a bead and put it on a decorative brush, wrap it around a bead and twist it with a tourniquet. Sew the end of the brush to the angel's body.
4: Take the second piece of paper and fold it in half, smoothing out the folds a little. After that, sew them to the body.

5: To make a halo, take another piece of brush, wind it around the angel's head and glue it.

Now you can hang the angel by a thread from a wooden stick.

Today we are returning to our life the good old traditions - making toys for the Christmas tree with our own hands. And new technologies and the availability of beautiful bright materials for sale will make this process easy and enjoyable, and the result will be beautiful and pleasing to the soul.
If your kids love to decorate your house for Christmas with their own hands, you can make a simple paper angel with them. To make it, you will need the most common stationery.
We advise you not to be stingy and purchase beautiful golden, patterned or embossed paper for this toy. In this case, at the end of the Christmas holidays, paper angels can be neatly packed and stored until Christmas time next year.Thus, this simple DIY toy will delight you and your children for a long time.
How to make an angel out of paper - option 1
To make two Christmas angels you will need:- a printer to print the drawing;
- a sheet of beautiful thick paper, preferably of a different color on both sides (A-4 format for 2 angels);
- scissors;
- hole punch to make a hole for the thread;
- a small piece of beautiful thread (20-25 cm) to hang toys.
If your printer does not take thick paper for crafts, you can make a drawing on plain paper and use tracing paper to transfer the image to a colored sheet.

- Cut out the future angel templates according to the gray lines.
- Bend the paper blanks as shown in the photo and form your Christmas angels.
- Using a hole puncher in the angel's head, punch a small, neat hole and thread a piece of thread through it. Tie the ends of the thread to make a loop - for it we will hang a handmade toy on the Christmas tree. (Also, angels can be hung on a long thread from the ceiling or in the doorway).
Option 2 - Christmas Angel with wings

Using the instructions below, you will transform the golden wrapping paper into a beautiful paper diffuser - Angel with Wings. Quick, easy and fun, you can very quickly make one, two or even many angels to decorate your home for Christmas.
To make a paper diffuser, you will need:
- gold or silver wrapping paper (or another color of your choice);
- a piece of cardboard for the stabilizer;
- glue;
- scissors;
- an awl or thick needle for perforating paper.

- Print out the paper diffuser template Angel with wings.
- Glue the template to the back of the wrapping paper. Make sure the adhesive covers the entire design sheet. It is better to use “dry” glue or a glue stick, as wrinkles remain on the paper from liquid glue.
- Cut out the Angel in the shape of the template.
- Make cuts along the dotted lines.
- Cut out a rectangular piece of cardboard that is tedious to stick on the back of the template to add rigidity to the Angel figurine.
- Glue this piece of cardboard with a glue stick.
- Using an awl or thick needle, poke holes in the template at the perforation points.
- First, perforate according to the pattern on the back of the template, then carefully repeat it on the front side.
- Fold the template as shown in the photo to form a cone, and glue the edges with a glue stick.
Simple yet elegant, these angels will look good on a dining table or office table. They will cheer you up and put a smile on your face.
How to make a 3D paper Christmas angel

This cute decoration is quite easy to make. It can become both a New Year's Christmas tree toy and used for festive interior decoration.
To make a three-dimensional Angel, you will need:
- a sheet of beautiful colored paper;
- yarn or colored thread;
- liquid glue or glue stick;
- ruler;
- pencil;
- scissors.

- Print out the Angel template.
- Cut out the template and, laying it on colored paper, circle it three times with a pencil.
- Cut out all three angel templates with scissors.
- Using a ruler, fold all three templates along the center vertical line.
- Using a ruler, measure about 12 cm of thread.
- Take two templates and glue them in half (to the fold).
- Fold the thread in half and insert its edges into the fold of the templates.
- Lubricate the halves of the first two templates with glue and put the third template on top, securing the edges of the thread at the same time.
- All! Our diffuser angel is ready! You can hang it from the ceiling on a long thread, and it will turn beautifully from the movement of air, remaining visible from any point.
It is also possible to make not only a three-dimensional, but a four- and even five-dimensional Angel, using the appropriate number of templates.
Ideas for inspiration
Good luck decorating your home for the holidays and Merry Christmas!Angel - has long been considered a symbol of Christmas. A long time ago, there was a tradition to decorate the house and the Christmas tree with various angels, as well as to give them. People bought angels and made them themselves. They sewed, knitted, carved from wood and other materials. And also angels were presented as a gift to sick people, wishing them a speedy recovery.
Angel - has long been considered a symbol of Christmas. A long time ago, there was a tradition to decorate the house and the Christmas tree with various angels, as well as to give them. People bought angels and made them themselves. They sewed, knitted, carved from wood and other materials. And also angels were presented as a gift to sick people, wishing them a speedy recovery. People believed and continue to believe that an angel made with their own hands will definitely help in recovery. There are many techniques for creating an angel, but in our master class, we will show how do-it-yourself paper angels are made.
An easy version of an angel craft

For it you will need a minimum of materials:
- paper
- scissors
- pencil
Let's start by folding a piece of paper in half. On one of the halves, draw a contour and cut it out. We draw the contour carefully, carefully drawing each line. Especially the contour of the wing, to make it as gentle as possible. Then the figure of an angel needs to be cut out.
 scheme for creating the first angel - marking and trimming
The dress on the angel needs to be carefully decorated. To do this, we cut out figures on the fold, small fragments, observing symmetry. The shape of the wings can be done to your taste. It can be absolutely anyone. The finished figure needs to be unfolded and gently pulled by the upper part of the halo, and voila, the angel has hands folded in prayer.

With the help of glue, you need to fix the folds on the "shoulders" and the palms brought together. And if you use a pencil to wind incisions on the hem and wings, then the angel will turn out to be more voluminous, as if weightless. Angel ready!

Openwork crafts angel
In the second version, we will show a slightly different technique for creating a paper angel. In order to make this do-it-yourself paper angel, we need materials:
- paper or paper plate with a patterned edge
- scissors
- pencil
- curly scissors or hole punch
- glue.
So, let's begin! First, you need to complete the template from the figure below. The size can be any! Everything depends on your desire.

Then we apply the template to the paper and outline along the lines. Next, cut out. If you want to cut out beautiful edges, then use a hole punch or curly scissors.

At the end, we collect the figure and glue it. Ready!

Please yourself and your loved ones, because now you know how to make an angel with your own hands! After all, it's so simple!
7 templates - print and cut


 girl angel playing on the triangle "Triangel"